
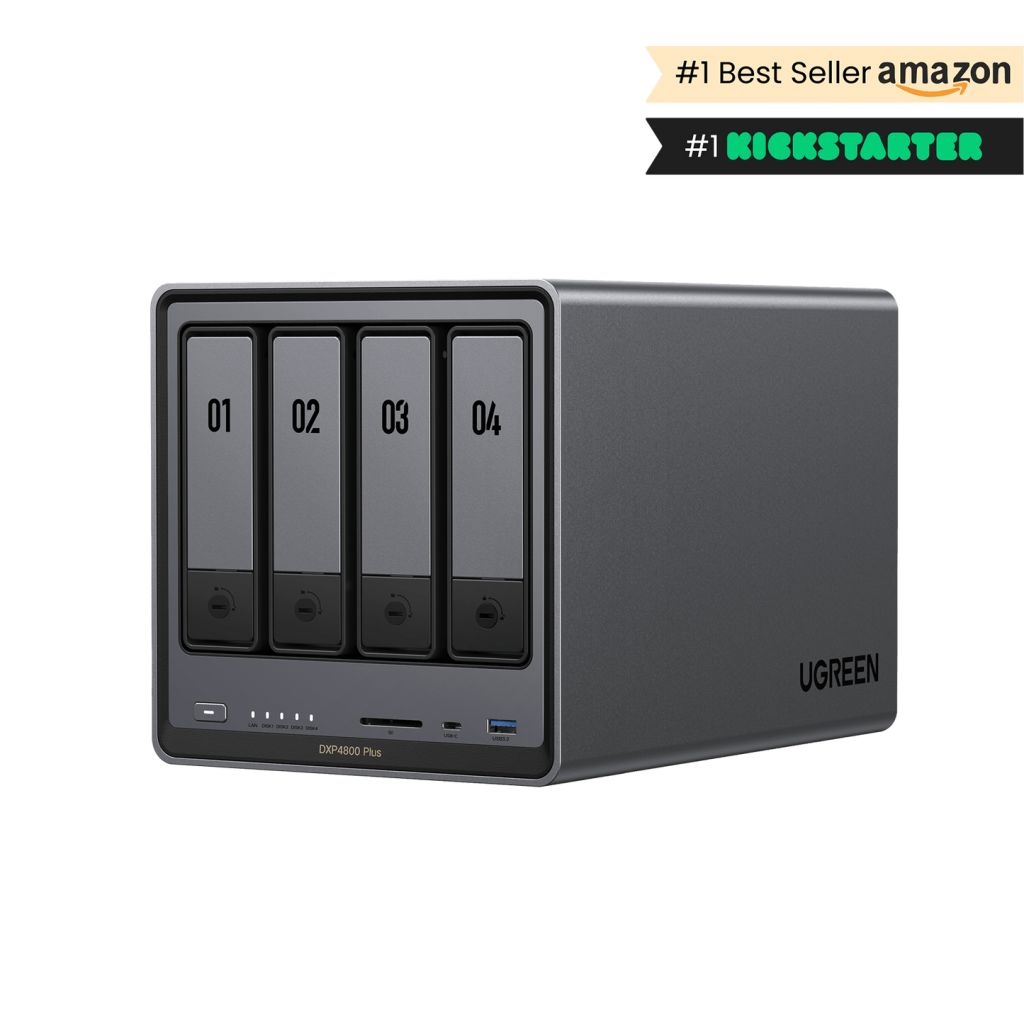
4-Bay NAS: Essential Central Storage Hub
In today’s digital age, managing the ever-growing collection of photos, videos, documents, and media files has become increasingly challenging for homeowners. Files scattered across multiple devices, external drives, and cloud services create a maze of digital chaos that’s difficult to navigate and protect. A 4-bay NAS (Network Attached Storage) system emerges as the comprehensive solution to these modern storage dilemmas. This centralized storage hub not only consolidates your digital assets but also provides robust data protection through RAID configurations, ensuring your precious memories and important files remain safe from drive failures. With remote access capabilities, your data becomes available whenever and wherever you need it, while simplified management tools make maintaining your digital library effortless. Whether you’re a photography enthusiast, a home office professional, or simply someone looking to organize their family’s digital life, a 4-bay NAS addresses the fundamental challenges of modern data storage and access.
Why 4-Bay NAS is the Ideal Home Storage Hub
A 4-bay Network Attached Storage (NAS) system represents the perfect balance between capacity, reliability, and cost for home users. Unlike single-drive external solutions that offer limited protection and accessibility, a 4-bay NAS creates a centralized storage ecosystem that grows with your needs. This versatile platform allows multiple family members to simultaneously access and share files across various devices, eliminating the frustration of searching through scattered storage locations. When compared to cloud services, a 4-bay NAS offers superior privacy control and eliminates recurring subscription fees while providing faster local access speeds. The four drive bays enable robust data protection through RAID configurations, ensuring your files survive even if a drive fails. This scalability advantage means you can start with two drives and expand as needed, potentially reaching capacities of 80TB or more using today’s high-capacity drives. For home users managing growing collections of family photos, home videos, and important documents, a 4-bay NAS delivers the perfect combination of accessibility, protection, and room for growth, making it an ideal foundation for a modern home storage strategy.
Critical Features in a Home 4-Bay NAS
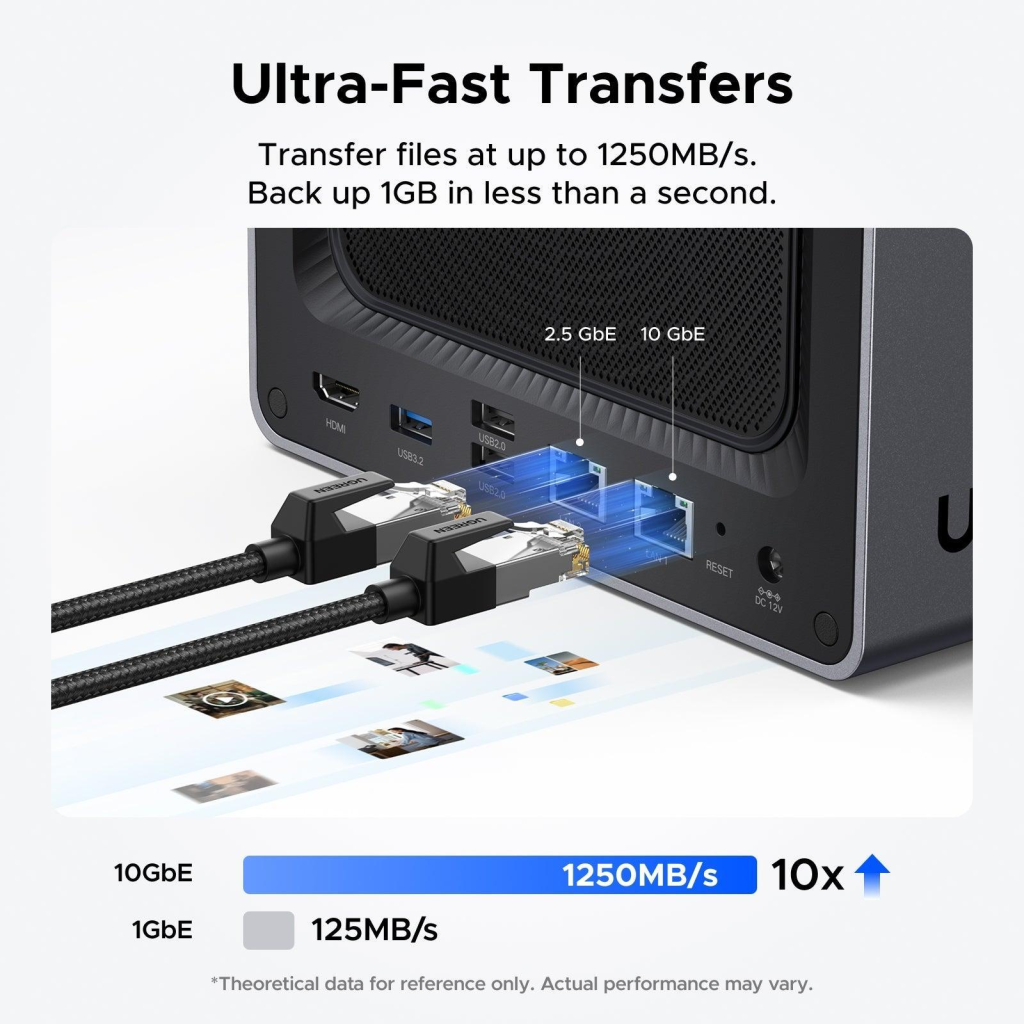
When selecting a 4-bay NAS for home use, understanding the essential hardware specifications ensures optimal performance for daily tasks. The processor forms the foundation, with Intel Pentium Gold processors offering an ideal balance of power efficiency and performance for home applications like media streaming and file sharing. For smooth multitasking, 4GB of RAM serves as the minimum baseline, though 8GB provides better performance when running multiple applications simultaneously. Modern solutions like the UGREEN 4-bay NAS systems come equipped with multiple USB ports needed for external device support and backup purposes. While 2.5GbE networking provides excellent throughput for most home users, 10GbE capability future-proofs your investment if budget allows. Environmental considerations matter in home settings – look for systems with intelligent fan control and power management features that maintain quiet operation while minimizing energy consumption. The software ecosystem is equally important, offering an intuitive interface that simplifies management tasks like user account creation, shared folder setup, and backup configuration. This user-friendly approach ensures that even those without technical expertise can effectively manage their storage system.
Step-by-Step 4-Bay NAS Setup Guide
Hardware Installation Essentials
Before installing drives in your 4-bay NAS, verify drive compatibility with your manufacturer’s HDD/SSD list to ensure optimal performance. When handling drives, ground yourself to prevent static discharge and work on a clean, flat surface. Remove the drive trays carefully, noting their numbered positions. Secure drives to the trays using the provided screws, ensuring they’re firmly mounted but not overtightened. Maintain proper orientation by aligning the SATA connectors with the backplane.
Initial Software Configuration
Begin the software setup by connecting your NAS to your router via Ethernet and powering it on. Download your manufacturer’s desktop utility to discover the NAS on your network – common tools include Synology Assistant or QNAP Qfinder Pro. Once detected, access the web interface through your browser and follow the setup wizard. Create a strong admin password combining uppercase, lowercase, numbers, and special characters. During storage pool initialization, the system will verify drive health and prepare them for RAID configuration. Select the appropriate file system (typically Btrfs or ext4) based on your needs for snapshots and data integrity features. The initialization process may take several hours, depending on drive capacity – don’t interrupt this critical step. Once complete, your NAS is ready for RAID configuration and folder setup.
RAID Configuration Made Simple
Understanding RAID configurations is crucial for protecting your data effectively in a 4-bay NAS system. RAID 5 offers an excellent balance of storage efficiency and protection, using one drive’s worth of space for parity while allowing you to survive a single drive failure. RAID 10, while consuming more storage space, delivers superior performance and can withstand multiple drive failures if they occur on different mirrored pairs. Synology Hybrid RAID (SHR) provides a more flexible approach, allowing drives of different sizes while maintaining protection. When planning your RAID setup, use a raid calculator to determine exactly how much usable storage you’ll have – for example, four 4TB drives in RAID 5 yield approximately 12TB of usable space. Implementation begins with selecting your RAID type during storage pool creation in your NAS operating system. The initialization process can take several hours, during which the system builds parity information. Once complete, regular SMART monitoring helps detect potential drive issues before they lead to failure. If a drive does fail, most modern NAS systems automate the rebuild process – simply replace the failed drive with one of equal or larger capacity, and the system reconstructs the array. For optimal protection, keep a spare drive on hand to minimize rebuild time and maintain redundancy as quickly as possible. Regular backups remain essential even with RAID protection, as RAID isn’t a substitute for a proper backup strategy.
Remote File Access Setup Guide
Setting up secure remote access to your 4-bay NAS requires careful consideration of available connection methods. The simplest approach utilizes manufacturer-provided relay services like Synology QuickConnect or QNAP myQNAPcloud, which bypass complex network configuration. For direct access, port forwarding through your router offers better performance but requires manual configuration of ports 80 and 443. A VPN solution provides the most secure method, creating an encrypted tunnel to your home network. Begin by enabling HTTPS and installing a valid SSL certificate through your NAS interface. Configure two-factor authentication for additional security by installing an authenticator app on your mobile device. For mobile access, download your manufacturer’s official apps and sign in using your admin credentials. Common connectivity issues often stem from incorrect port forwarding or DNS configuration – verify your router settings and ensure your domain name or DDNS service is properly updated. If using relay services, check your internet connection stability and firewall settings. For optimal security, disable unnecessary services, regularly update access permissions, and monitor connection logs for suspicious activity. Remember to test your remote access setup from outside your home network to ensure everything functions as expected.
Maximizing Your NAS: Advanced Applications
Transform your 4-bay NAS into a powerful multimedia hub by setting up Plex or Jellyfin media servers, enabling seamless streaming of your movie and music collections to any device. Configure these servers by installing the appropriate package from your NAS app center, then organize your media using proper folder structures and metadata for optimal browsing. Implement comprehensive backup strategies by creating scheduled tasks that automatically sync important data from computers and mobile devices to designated NAS folders. For enhanced home security, leverage your NAS’s surveillance capabilities by connecting IP cameras through the built-in Surveillance Station, enabling motion detection and recording features. Explore Docker container deployment to expand functionality – install containers for services like Home Assistant for smart home automation or Nextcloud for private cloud storage. Establish a regular maintenance schedule, including weekly SMART drive health checks and monthly firmware updates to ensure system reliability. Create automated notifications for critical events such as backup completion or drive health issues. These advanced applications transform your NAS from simple storage into a versatile home server that enhances daily digital life while maintaining data security and system performance.
Building Your Digital Future with 4-Bay NAS
A 4-bay NAS system represents the ultimate solution for modern home storage challenges, offering the perfect balance of capacity, protection, and accessibility. Through RAID configurations, your irreplaceable data remains secure against drive failures, while remote access ensures your files are always within reach, whether you’re at home or on the go. The expandability of a 4-bay system provides room for growth, accommodating your evolving storage needs without requiring a complete system overhaul. The combination of automated backups, media streaming capabilities, and advanced applications transforms this device from simple storage into a comprehensive digital hub for your home. By following the setup and configuration steps outlined in this guide, you can create a robust, secure, and efficient storage ecosystem that simplifies your digital life. Take the first step toward organized, protected, and accessible storage by implementing a 4-bay NAS solution – your digital peace of mind awaits.


